Installation with KunstmaanCMS Standard Edition
Downloading and configuring the base CMS
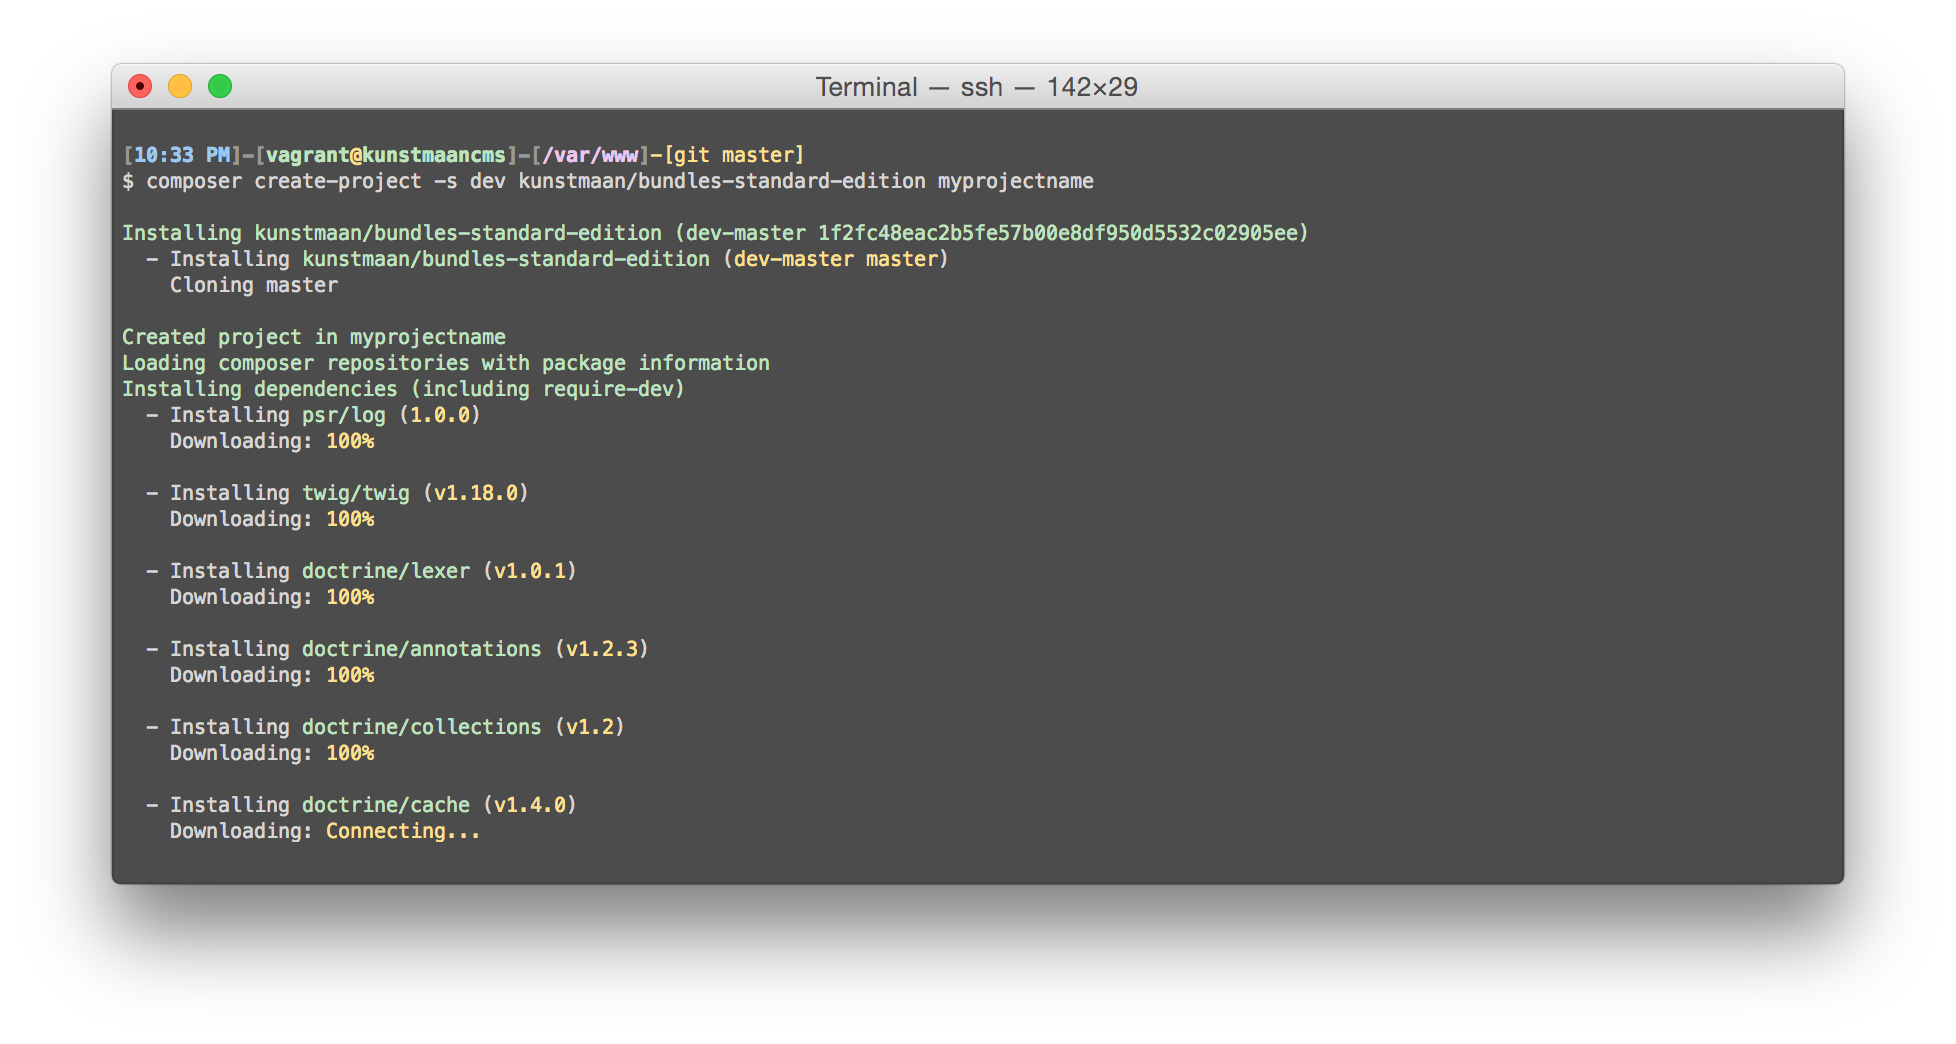
We will get started by downloading the Kunstmaan Bundles Standard Edition to get the CMS and all it's dependencies.
composer create-project kunstmaan/bundles-standard-edition myprojectname
It will then ask you some questions to configure Symfony and the CMS system. At this point just fill in the database_name like so:
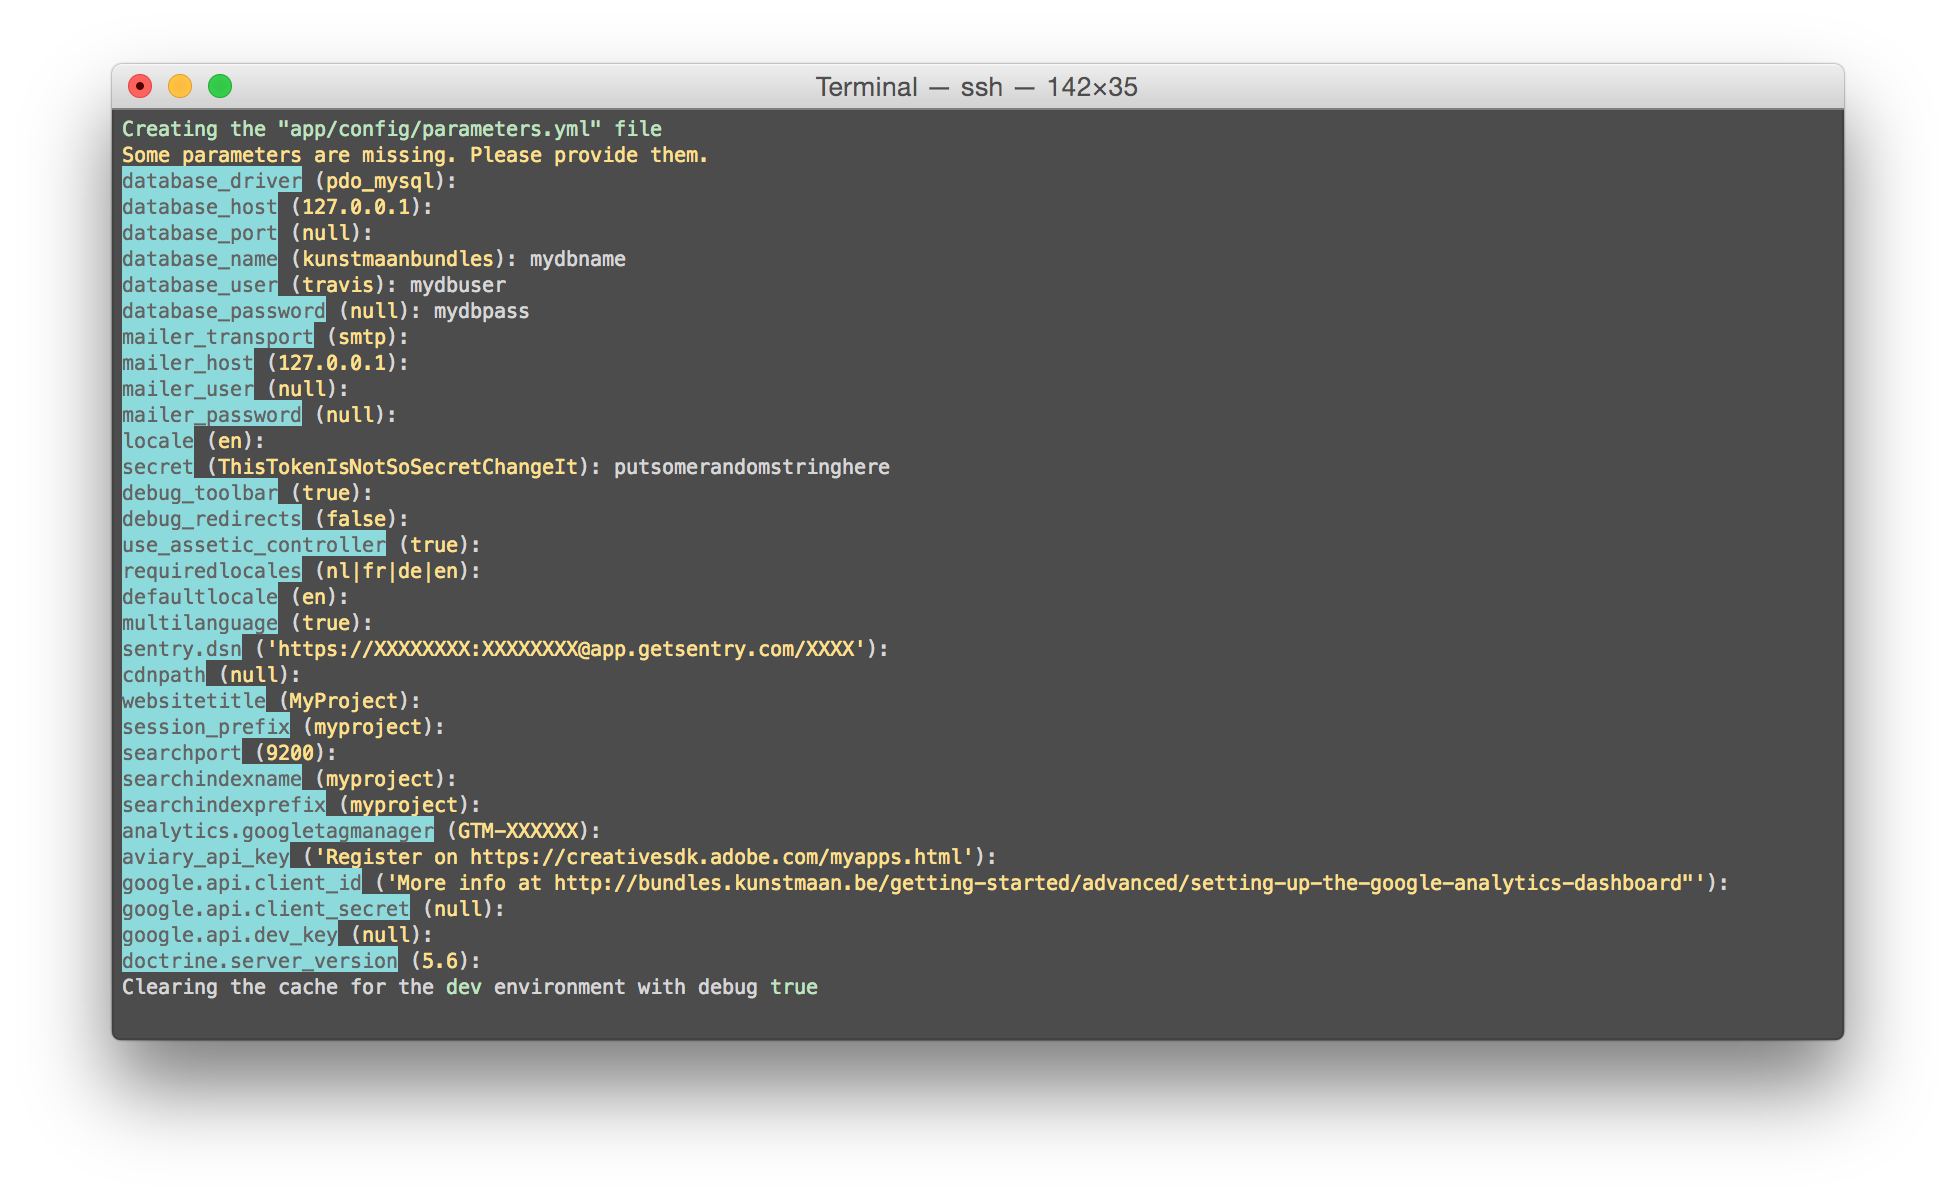
Since our project is named myproject, the websitetitle, session_prefix, searchindexname and searchindexprefix are all ok. In a real project they probably aren't.
We will configure all other parameters later on.
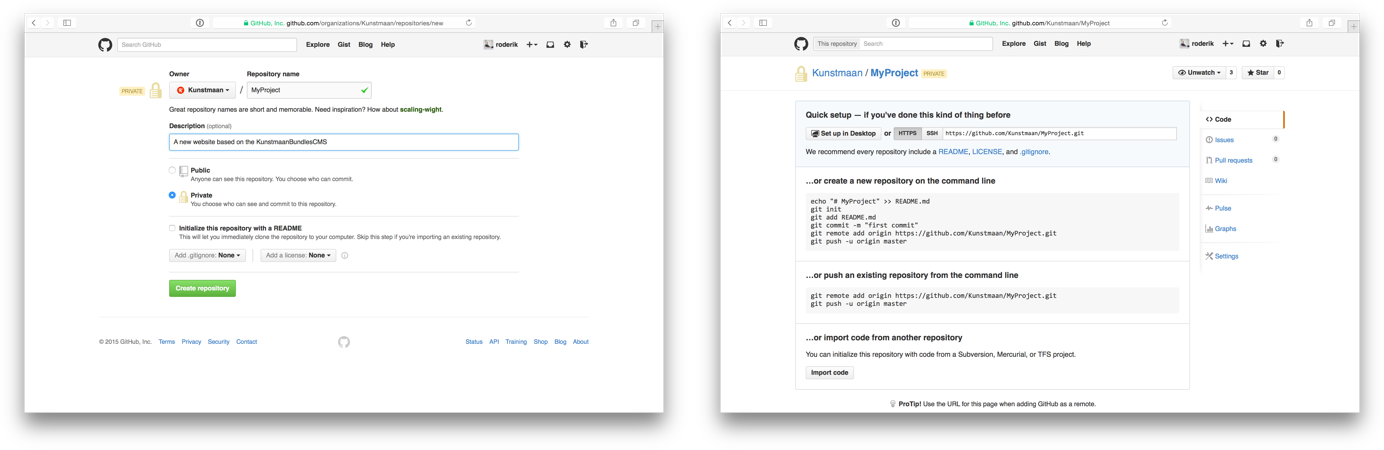
First step now is to add all these files into version control. What version control system and what vcs hosting you use is up to you. This example assumes Git and GitHub.
Create a new repository (in most cases a private one). Don't add any files from the GitHub interface to start with.
Then execute these commands in /var/www/myprojectname/ to initialise the git repository
git init
git add .
git commit -m "Clean install of the KunstmaanBundlesCMS"
git remote add origin https://github.com/USERNAME/MyProject.git
git push -u origin master
At this point refreshing the page for your repository on GitHub will show you your files.
Please note that the .gitignore file of the KunstmaanBundlesStandardEdition prevents committing your parameters.yml file into git. Depending on your needs, you could change this by removing that line from your .gitignore file.
Fast installation
bin/console kuma:install
Use above command to install kuma site or follow below steps.
Generating a bundle
First, you should generate a bundle for your website specific code.
bin/console kuma:generate:bundle
Each bundle is hosted under a namespace (like Acme/WebsiteBundle). The namespace should begin with a "vendor" name like your company name, your project name, or your client name, followed by one or more optional category sub-namespaces, and it should end with the bundle name itself (which must have Bundle as a suffix).
See this Symfony Best Practices document for more details on bundle naming conventions. At Kunstmaan we use ClientName/WebsiteBundle as a convention for a standard CMS project. In this example we use MyProject/WebsiteBundle.
For all other questions, the defaults should suffice.
Sometimes there are some issues with bash/zsh escaping in terminal input, so use / instead of \ for the namespace delimiter to avoid any problems.

Generating your website skeleton
Now that we have a bundle to store our code in, we are going to generate the skeleton for our website. You do this by running the following command. It will ask you for a MySQL database prefix, just leave it unless you have a specific reason to do so.
bin/console kuma:generate:default-site
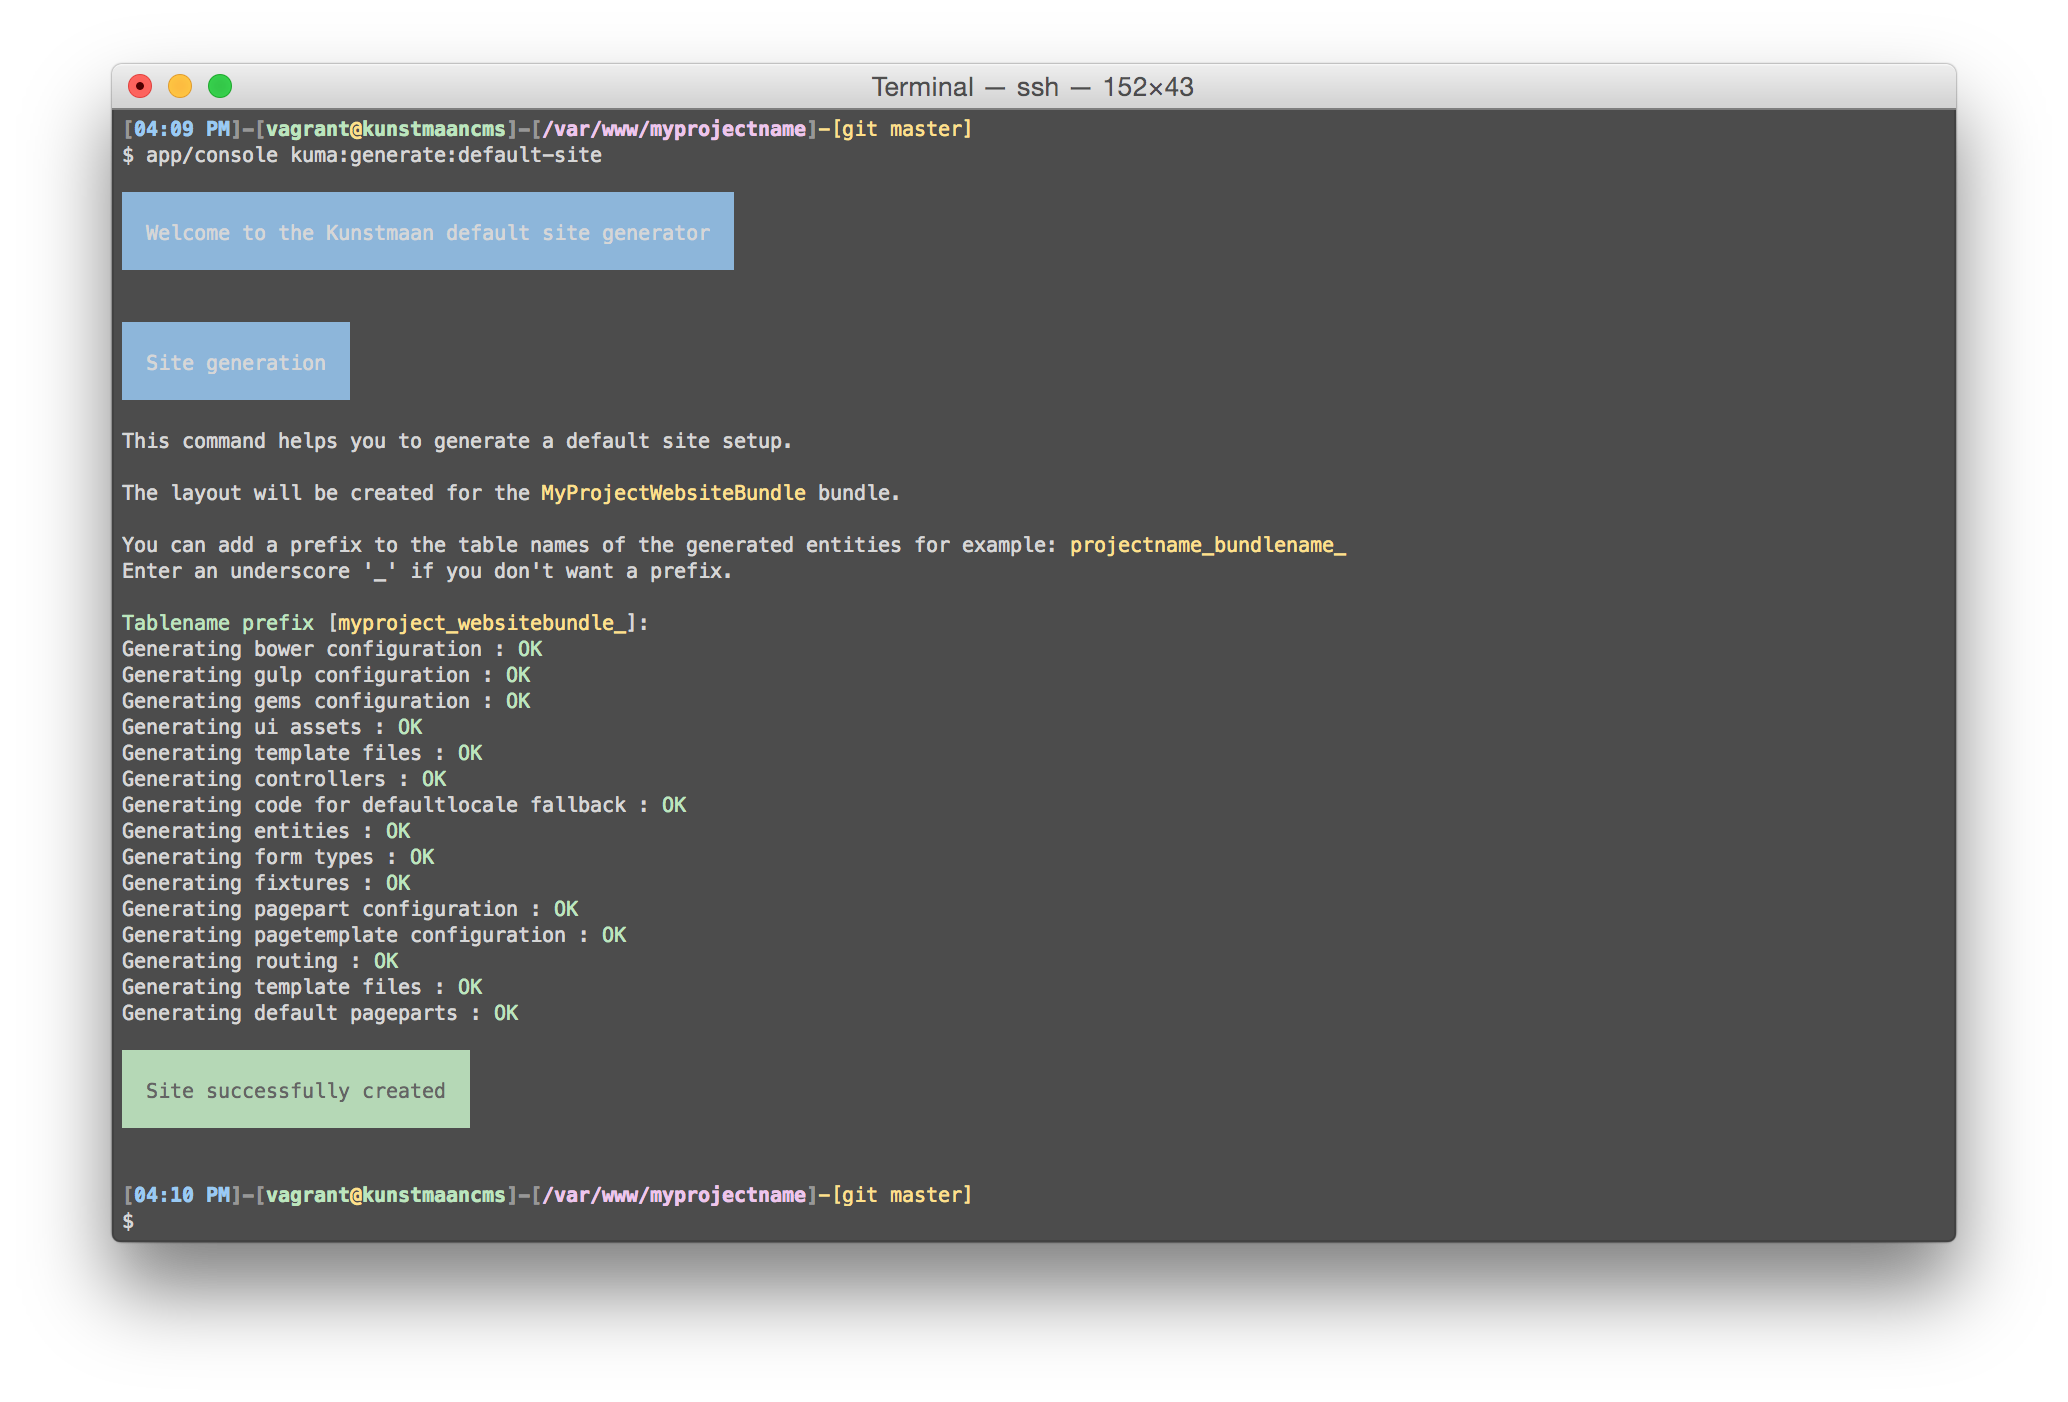
This generates:
- A Groundcontrol configuration ~ gulpfile.babel.js. Groundcontrol is a build tool based on gulp to automate and enhance mostly front-end development workflows
- A basic selection of user interface elements, sass files, etc
- A barebones selection of controllers, entities, twig files, pageparts, etc
- The needed fixtures to setup the CMS
This is the best starting point for a real website. If you add
--demositeto the command above, this generator will generate more styling and fixtures so that the result ends up exactly like the demo site.
Initialising the database
When this is done, create the database schema and load all the generated fixtures to fill it.
bin/console doctrine:database:create
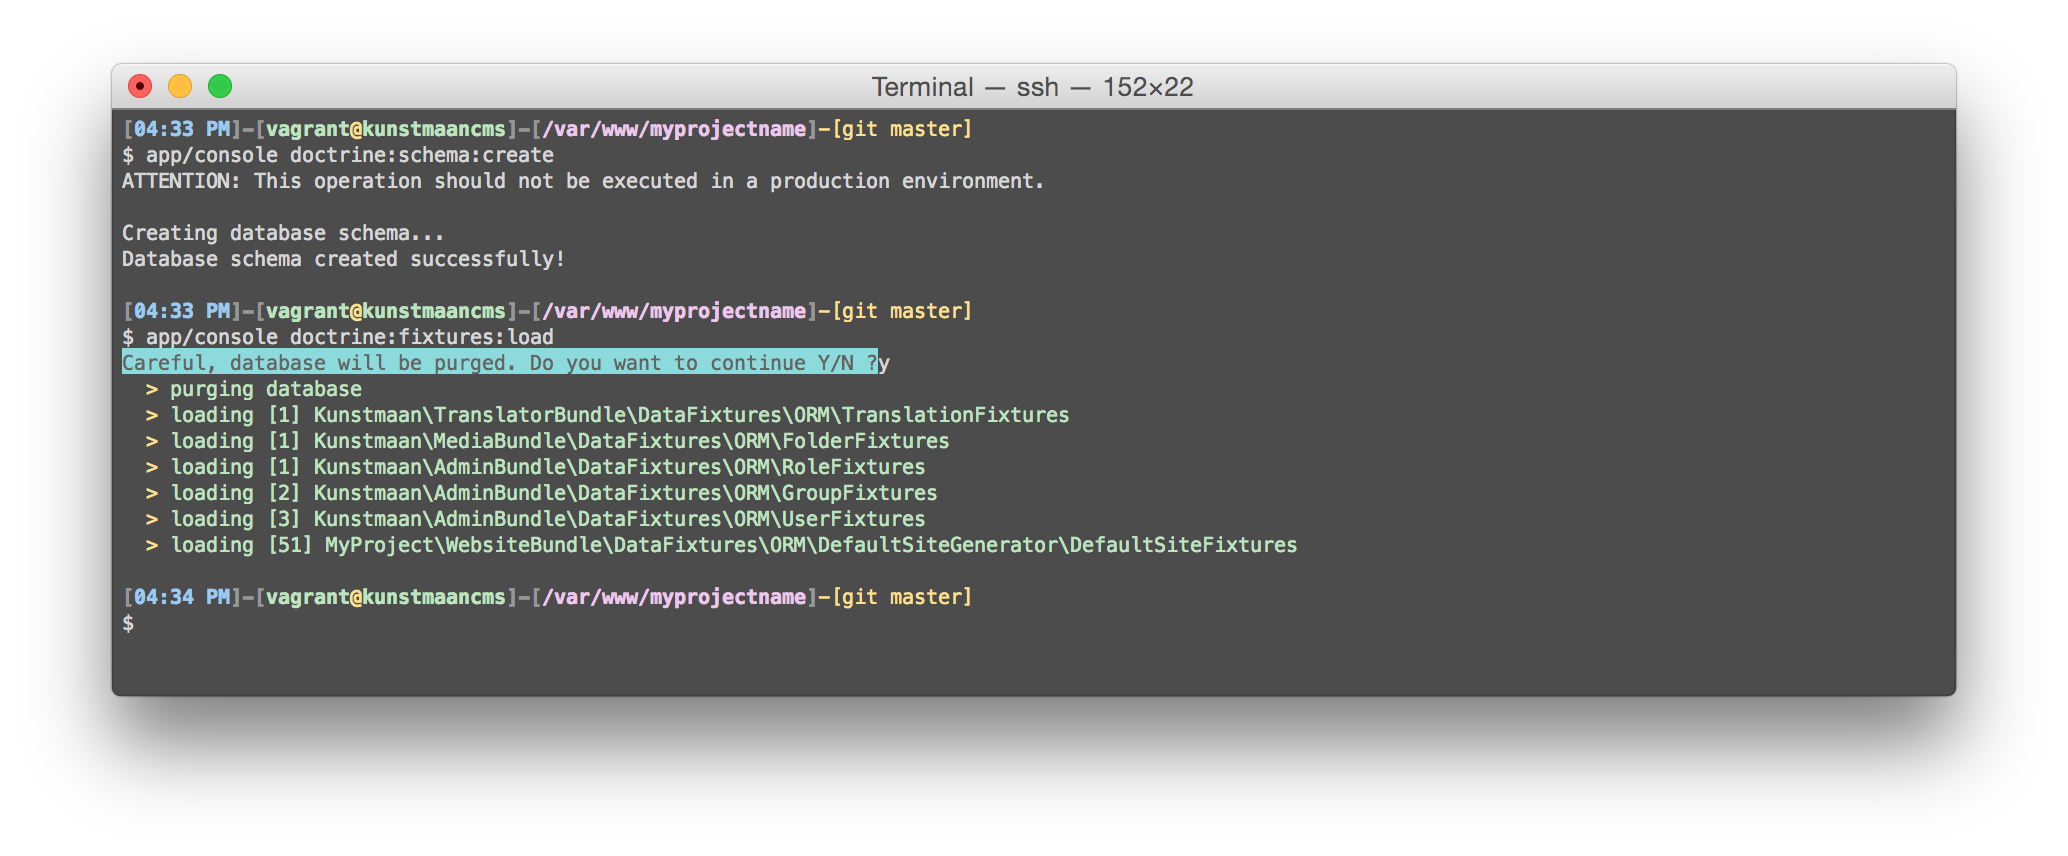
bin/console doctrine:schema:create
bin/console doctrine:fixtures:load
Generate Unit and Behat tests (optional)
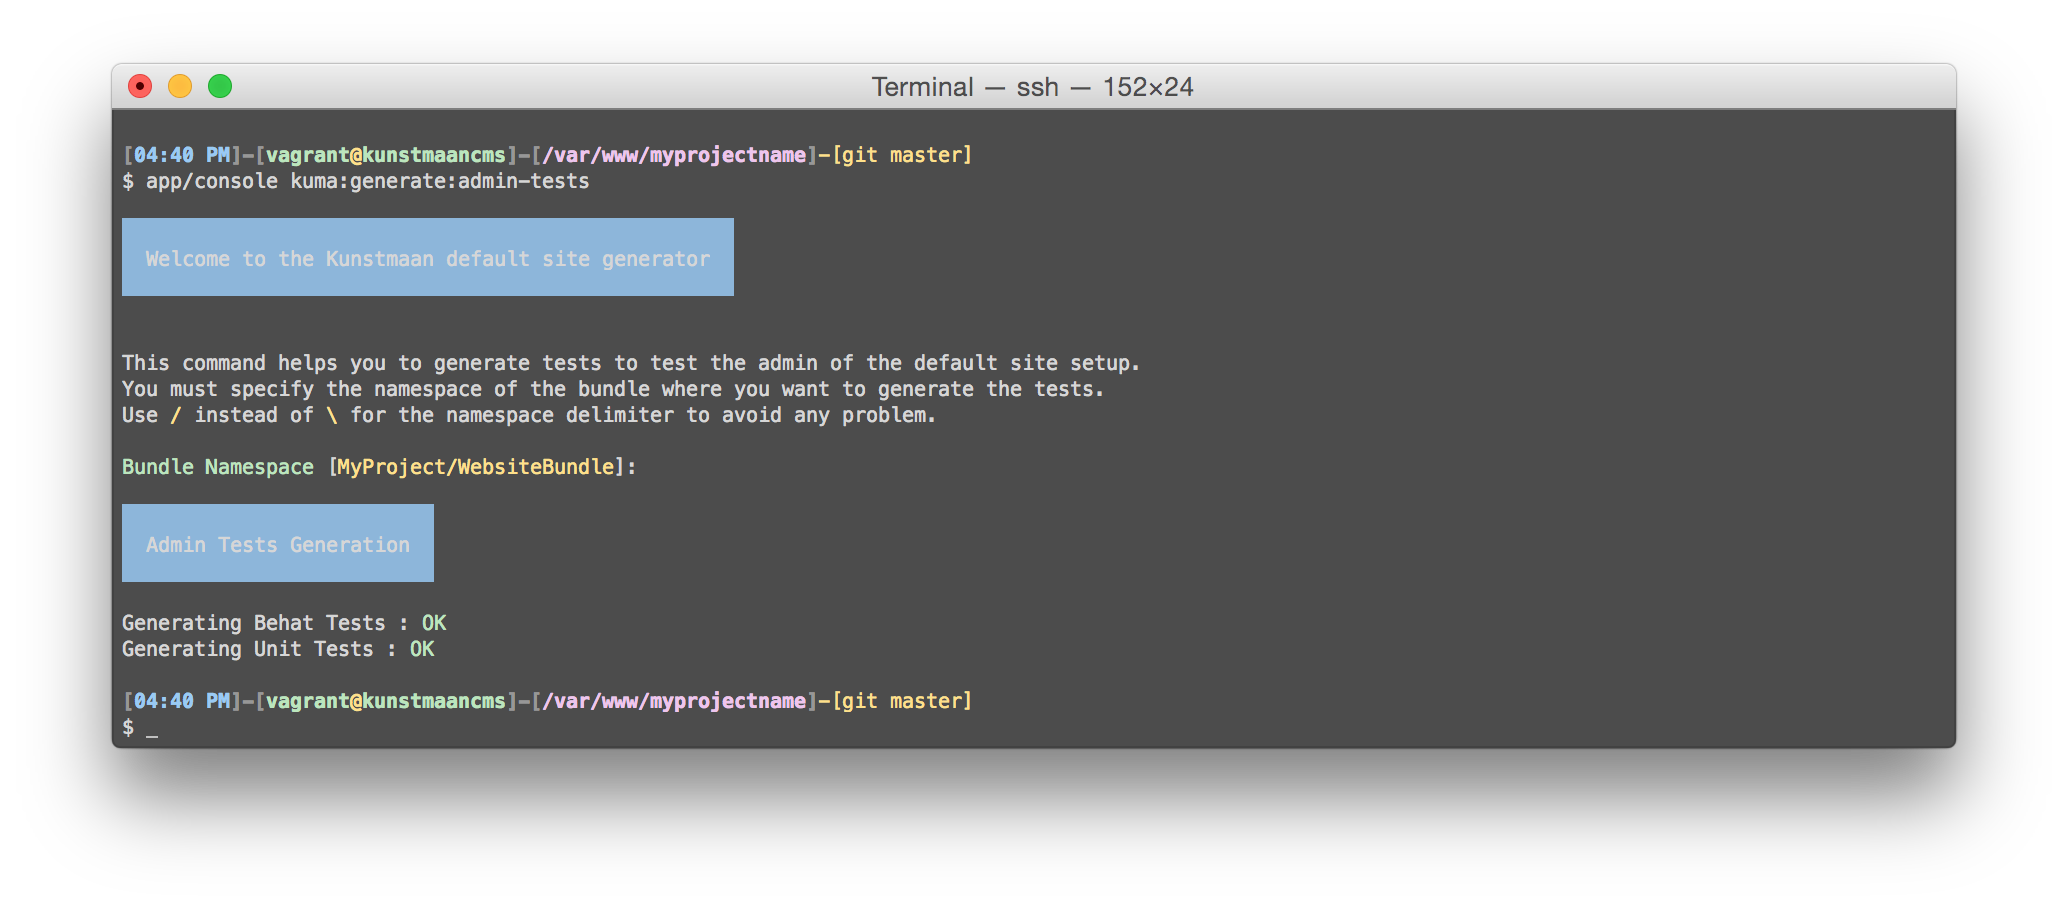
If you want, you can generate a set of Unit and Behat test features that test that your site is working correctly. It will test logging in to the administration interface, it will create a page and tries to enter every pagepart. Most generators will generate extra features when you add features later on in development.
bin/console kuma:generate:admin-tests
Just accept the default bundle namespace at the prompt.
Get all the front-end CMS assets
Now that all your code is generated, let's make sure all front-end assets are available.
Execute the following command:
bin/console assets:install --symlink
If you have done all the aforementioned staps successfuly. You should be able to browse to the website on the environment of your choice, and be greeted with the following screens.
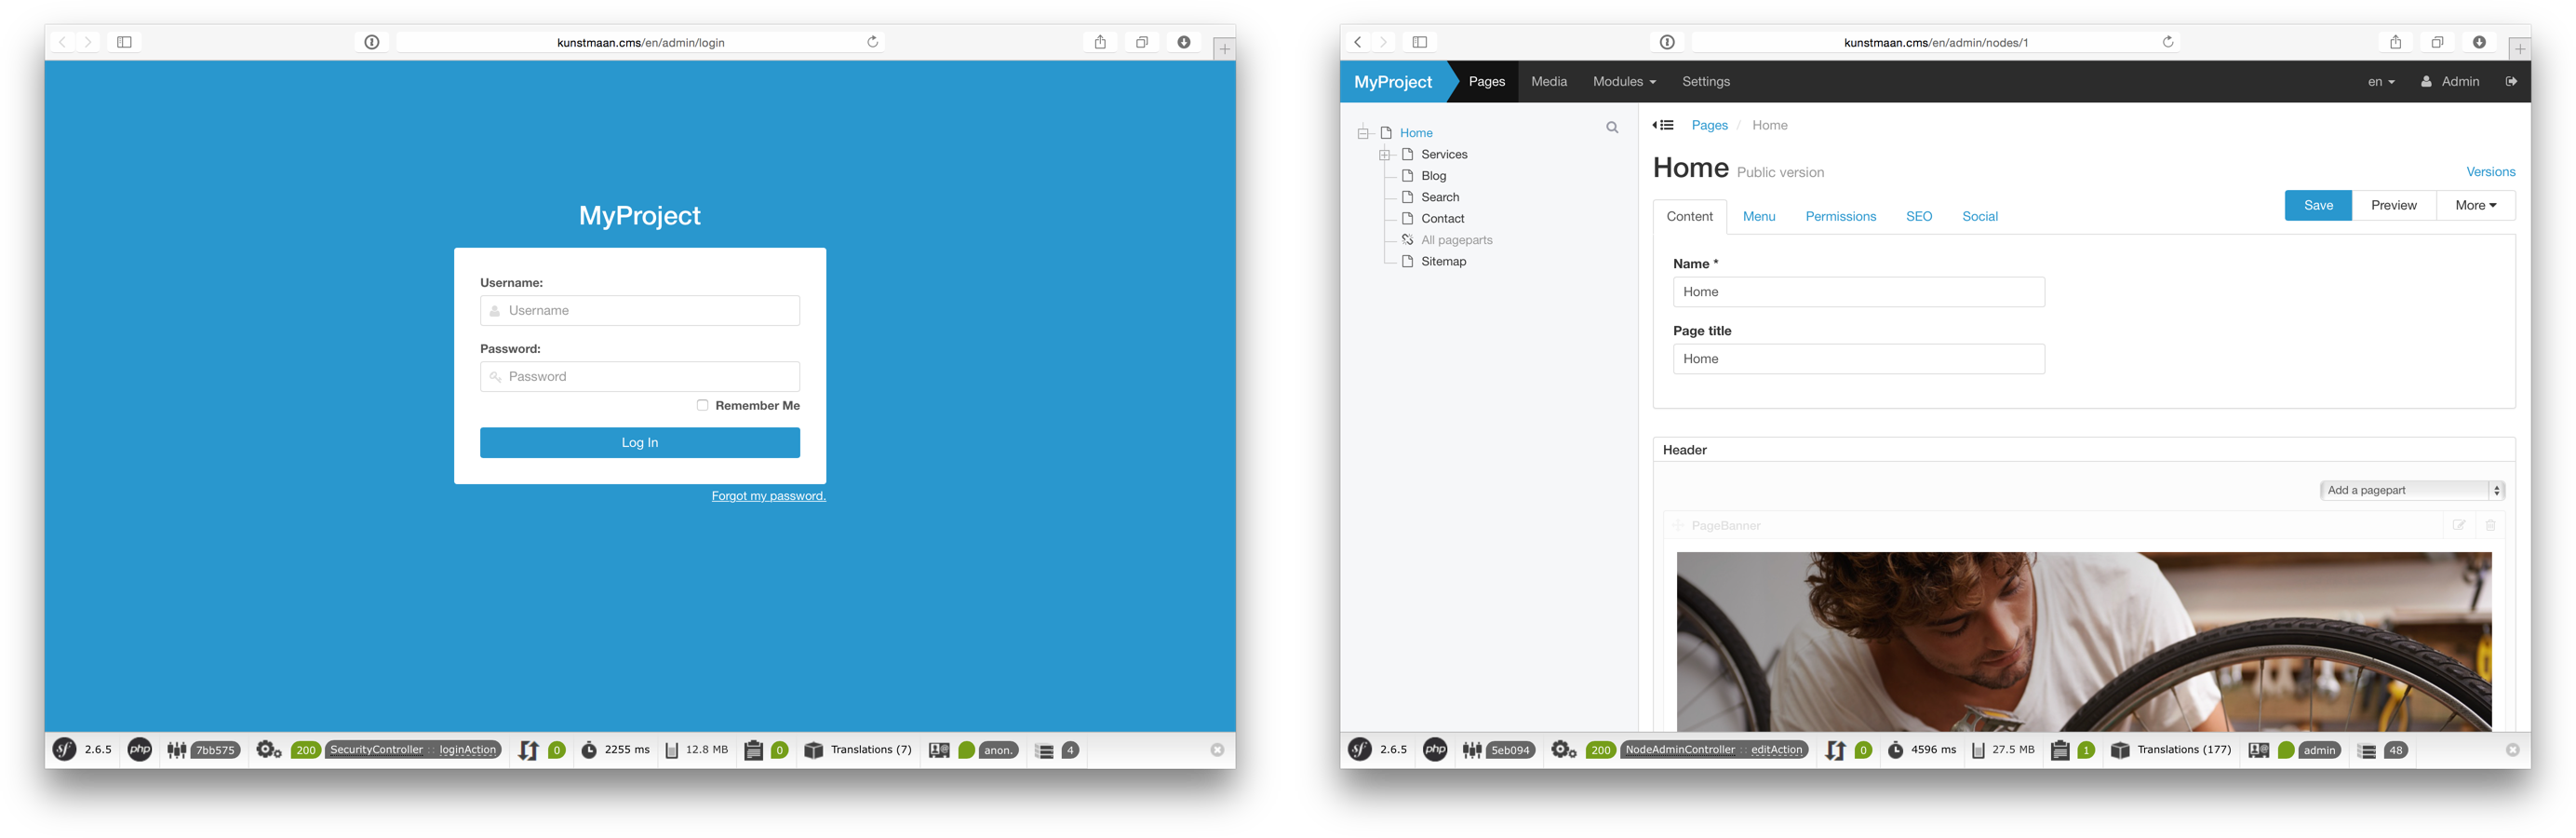
Note that the screenshots were made of a site using the
--demositeoption during generation
Get all the front-end website assets (KuMa workflow)
First make sure you installed node.js v7.7 (or higher).
You can test your node version by running node -v.
You can use the nvm to use correct node version. Use the
nvm installcommand.Node comes with npm installed so you should have a version of npm. However, npm gets updated more frequently than Node does, so you'll want to make sure it's the latest version.
npm install npm@latest -gTest: Run
npm -v. The version should be higher than 2.1.8.
Also make sure you installed gulp-cli globally.
If you've previously installed gulp globally on your machine, run
npm rm -gl gulpbefore following these instructions:Run
npm install -g gulp-clito install gulp-cli globally.
Then execute the following commands:
npm install
npm run build
At this point browsing to the website on the environment of your choice should show you the website with minimalistic styling.